Guardian of the Lost Miniatures
Where your vision goes from concept to 3D
Guardian of the Lost Miniatures is your resource for custom miniatures used in TTRPGs (Tabletop role-playing games). If you need a custom character or prop for your next D&D campaign, let us know what you need and we can help bring your vision to life.
Unique Miniature Creations
Here is a selection of my favorite miniatures. If there is one that you would like customized, please inquire.

Snow Beholder

Alice in Wonderland

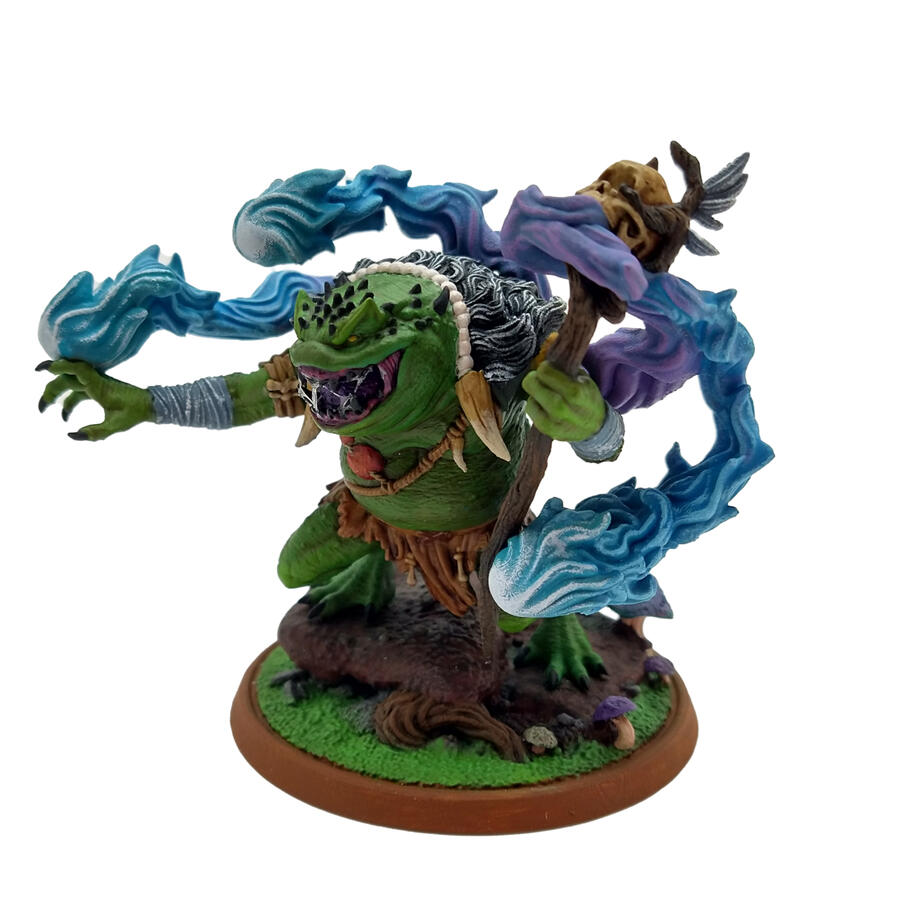
Green Slaad

Stone Golem

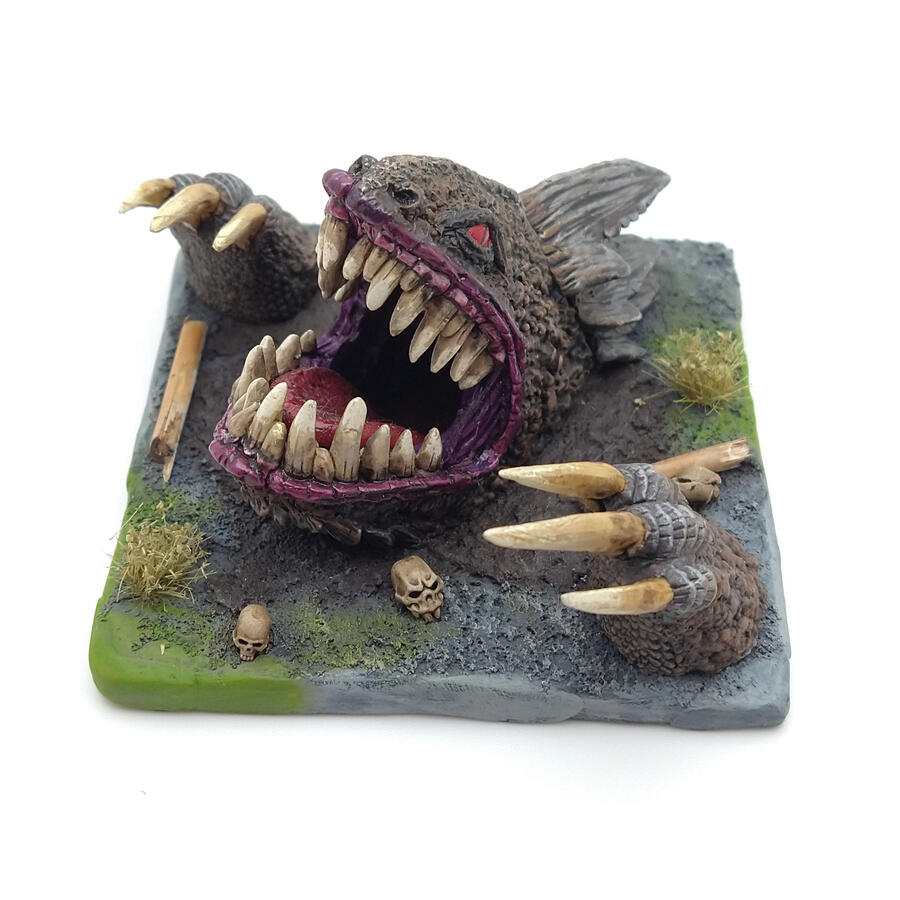
Burrowing Horror

The Craven King

Ancient Black Dragon

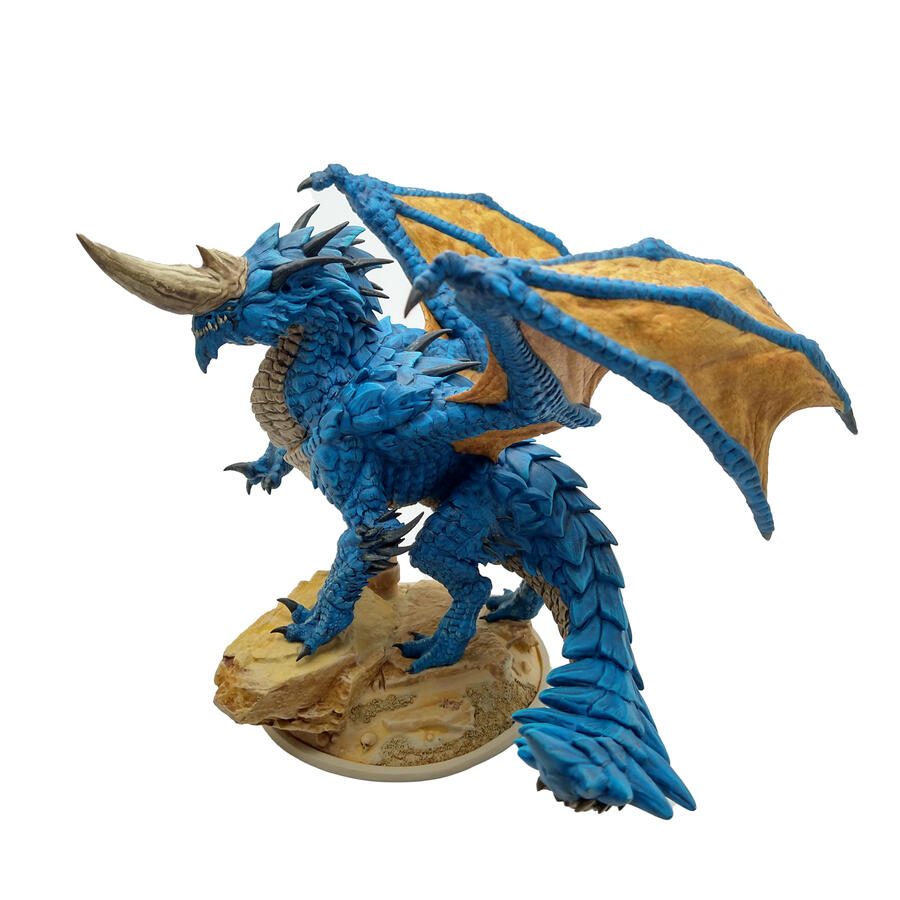
Ancient Blue Dragon

Fire Roc

Shadow Demon Lord

Croxagor

Snow Worg and Worg

Umber Hulk

Viviana - Tiefling Warlock

Drow Queen

Vampire Bat

Suzette - Tiefling/Sorcerer

Miles - Human/Wizard

Barek - Bugbear/Artificer

Stabby - Grung/Rogue
Request a Custom Design
Let me create the custom miniature you have been dreaming of. Begin by completing this form and you will receive a free production quote. Budget depends on a number of factors, let’s discuss your project parameters and see what works.
If you would like to commission a mini you have seen on the website please include the name of that mini. If you have your own STL file please say that you do. If not describe the mini you would like and we can take it from there.
My Process
We have developed a process tailored to the needs of miniature creation. We are fastidious regarding each step, from research to printing to painting to quality check.

Step 1: Print
I find miniatures from MyMiniFactory, CGTrader, Heroes Infinite, Artisan Guild, LootStudios, Hero Forge, to name several; there are many talented 3D artists online to choose from, so the selection is, nearly, endless. Once I find a model that I like, I acquire the STL file (Stereolithography), download it, and load it into Chitubox or Lychee (slicing software).I use either slicing software to pull up a 3D rendering of the model and prepare it for printing by positioning the 3D model on a digital grid (a build plate) and add supports if necessary. Supports help the 3D model from failing when printed. I then load the completed build plate onto a USB drive and plug that into my 3D printer; I use Epax printers due to their reliability, durability, and customer service. Once the drive is plugged in, I select which file I want to print, add resin to the vat of the printer, and start the process.

Step 2: Prepare
Once a print is finished, I remove the build plate from the 3D printer and scrape the fresh prints off the plate with a metal spatula. I then dunk the prints in 91-99% isopropyl alcohol for 5-20 minutes, depending on various circumstances. I then remove the freshly soaked prints, shake them off, and peel off the supports before discarding them in a waste basket specifically for resin printing.I then lay the wet prints on towels to dry and check them to see if they are still tacky; tacky prints need to be soaked again because the excess resin hasn't been completely removed. I then take a utility knife and cut any extra bits of leftover supports off of the print to clean them up a bit before hardening them with a UV light.After the prints are dry, I put them in a curing station that shines UV light all around the prints for 30 seconds to 5 minutes. Once cured, I take some course sandpaper and file down any unwanted bumps or imperfections, smoothing out the print; for smaller, more detailed prints, this part takes time and precision to avoid damaging the mini and loss of details. In some cases, I need to add epoxy putty to sculpt a print, fill in gaps, round out some edges, or build up a print, which requires more time and some finessing.

Step 3: Paint
Here comes the fun and, often challenging, part. With the first step, I'm preparing a print to be fabricated. With the second step, I'm treating the print for quality. With this step, I'm bringing the print to life. I first start out by priming the print with a spray-on primer; typically, a rattle can for props since they're bigger, and a liquid primer in an airbrush for smaller, or more delicate, projects.Once the print is primed, I wait for the primer to cure, usually, 24 hours, depending on weather conditions, before applying a base coat. I then pick out my colors for the base coat(s) and spray them on the print. Then I pick out the rest of the colors I'm going to use and use a variety of different size brushes to paint the details on the print. Many painters can do a lot with 3 different brushes, but any painter will tell you that you need the right brush for the job, and some prints have some hard to reach areas that require an angled brush head, or some finessing.The challenge of this step is making sure that the colors work well together (color theory), the colors blend well with each other (blending), the details are visible (precision), the colors pop (shading), and making sure not to paint a part of the print that you later have to touch up because you didn't think ahead (logical planning).I like to use a few different brands of paints and different kinds of paints to get the effects that I want. Blending requires patience because you have to water down the colors that you're trying to blend and let each coat dry before applying another coat. Washes provide some simple and effective ways to bring out some details while also coloring/shading a print.Once I'm satisfied with the finished model, I spray a coat, or two, of varnish/lacquer on the model to protect the paint job. For any surface that needs to look wet, or shiny, I touch up with a brush and some gloss varnish. This brings out the wetness of a creature's eyes, or the glistening of water.

Hi, I'm Houston Siracusa
Houston creates props for cosplays and paints miniatures for TTRPGs (Tabletop role-playing games). He began creating miniatures in 2018 for his Dungeons and Dragons home campaign and found that he had an affinity for both the aesthetics and process. He's been working on refining his techniques ever since.


